Adding Individual Residents to the Dashboard
You’ll want to be sure you are adding and removing resident names as your resident roster changes. This will ensure that all current resident names will be loaded into the kiosk so their visitors and vendors can select the resident(s) they are in the community to see. It will also guarantee that any residents no longer in the building do not display in the kiosk. To manage your resident list, log into your Dashboard account and follow the steps below:
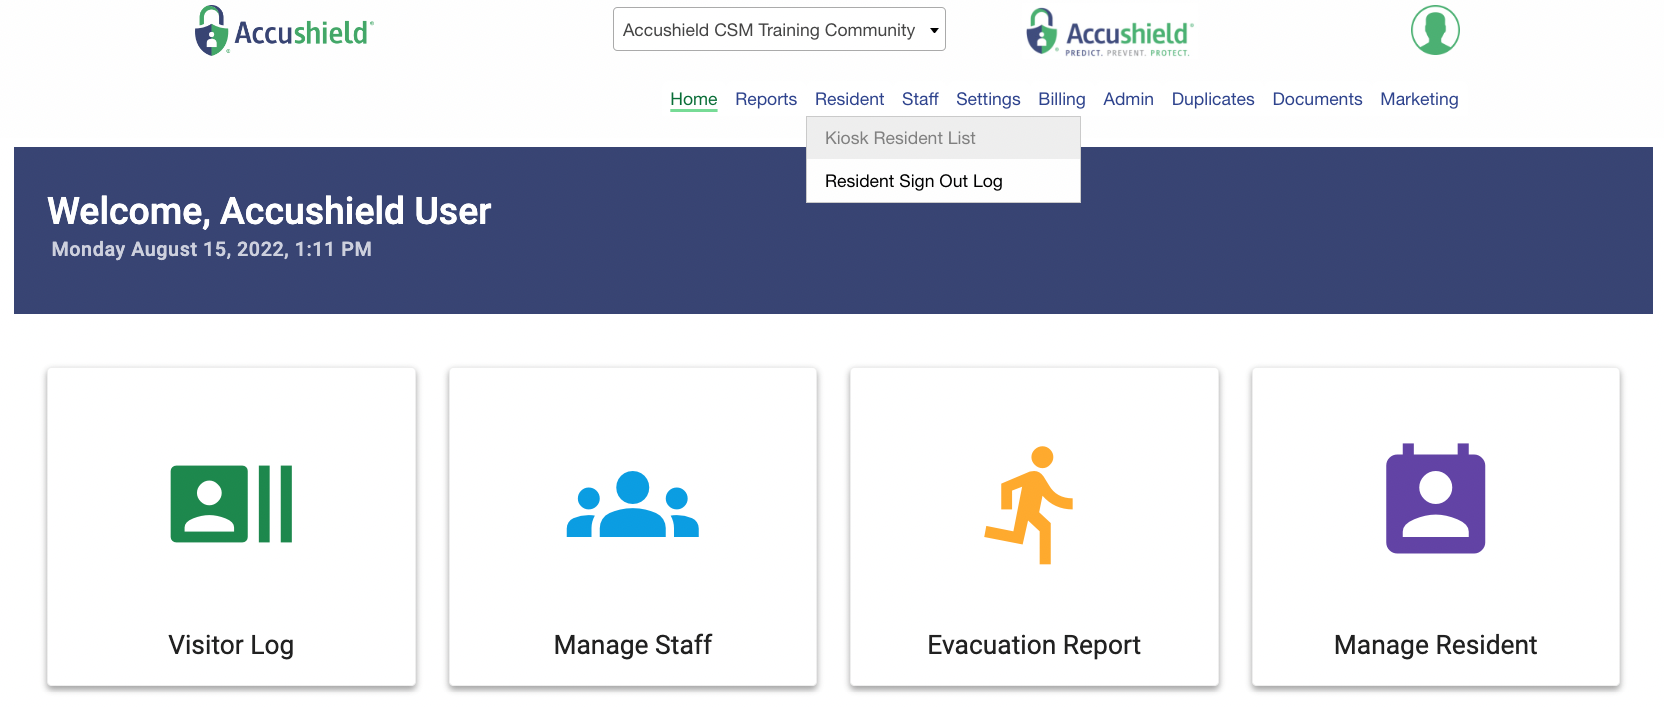
First, either select 'Manage Residents' from the home screen or scroll over the Residents tab and select 'Kiosk Resident List'. This will take you to the resident management page.
To add a resident to your kiosk, simply select “Add Resident” from the resident management page.

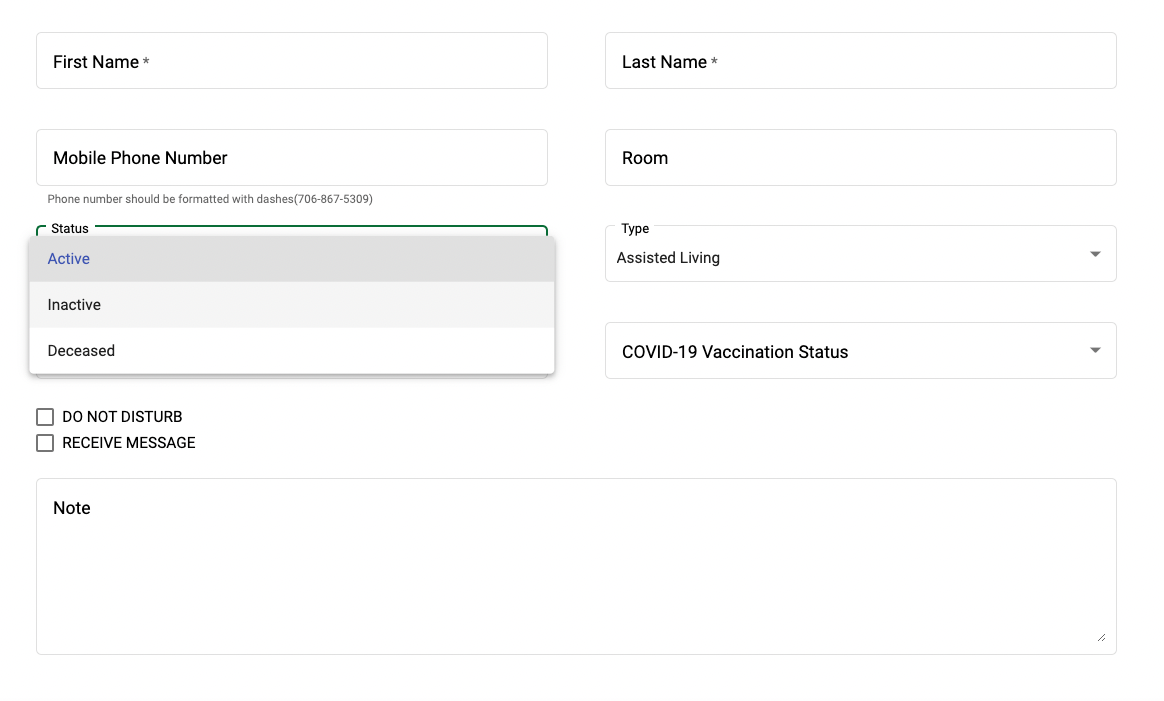
Next, enter the resident’s information (first and last name, room number, and where the resident lives within the community). Be sure if you are using the “building’s feature” to select the building the resident should be assigned to. Once all information is input into the system, select save. Your kiosk will be updated with the information after about 15 minutes (depending on wi-fi strength). If you have a resident who does not want to receive visits, you can put their name in the system but select “Do not Disturb”. This would allow the resident’s name to show in the kiosk, but an alert would pop up that would inform the individual visiting that the resident is not available.

Removing Residents from the Dashboard
When you need to remove a resident, you’ll do so from the resident management page. Next to the resident you need to remove, you’ll find an edit icon (blue pencil and paper). Click on the icon. On the next page, scroll down and click on “status”. You’ll then need to change the status to either 'Inactive' or 'Deceased'. Either option will remove the resident from your kiosk after about 15 minutes.
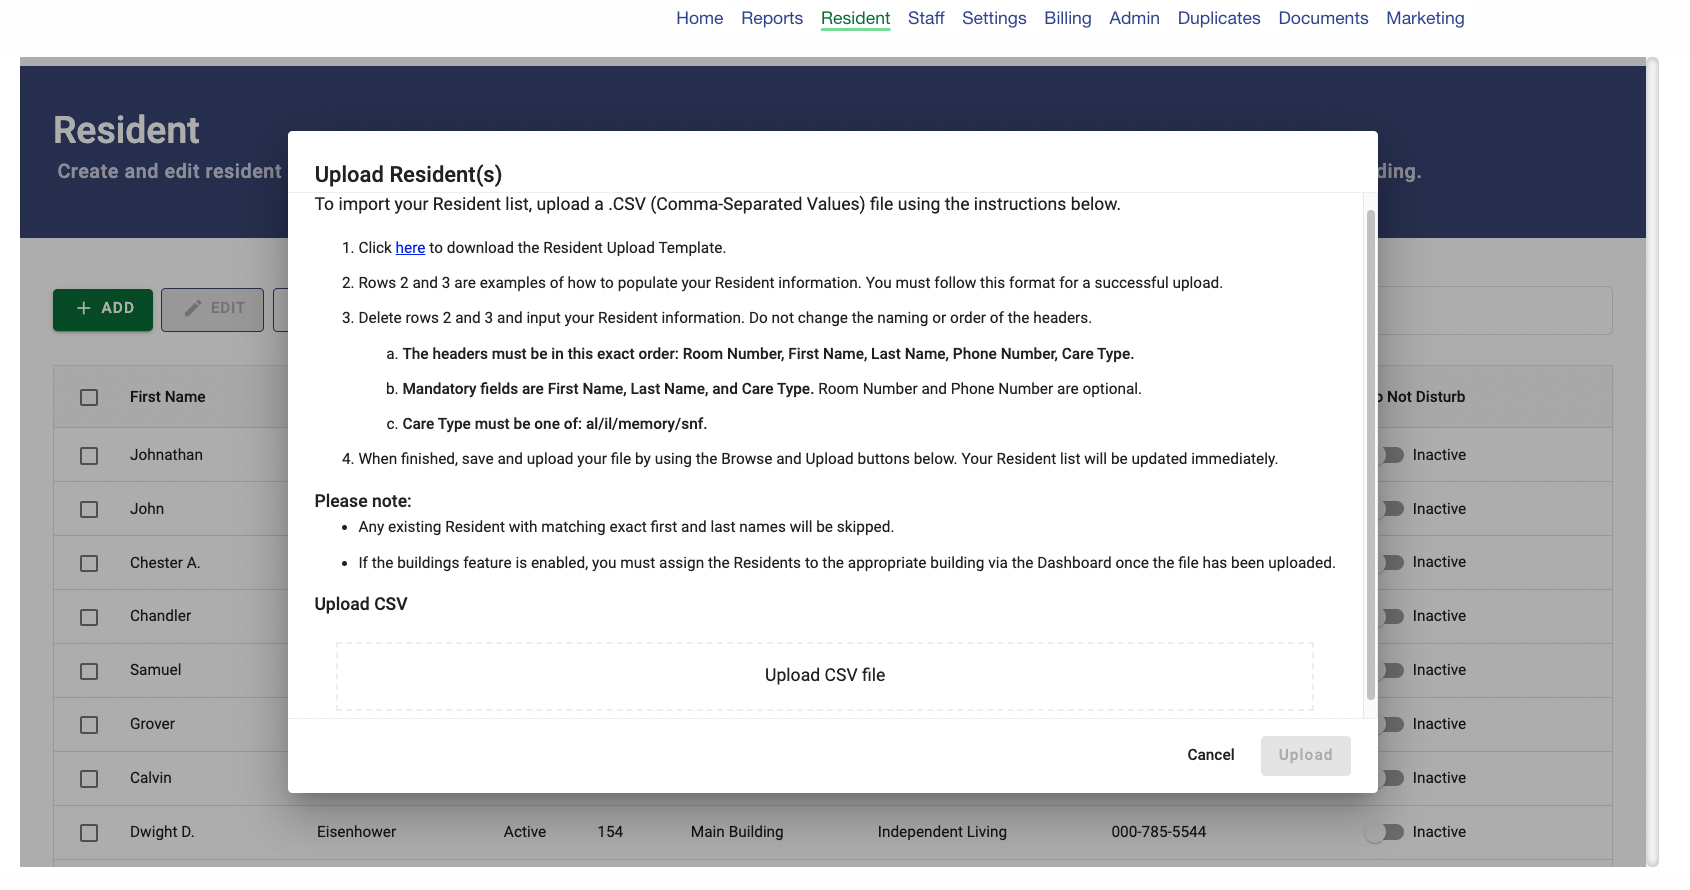
Bulk Uploading Multiple Residents
When on the Residents home screen, click the Upload option and read through the provided instructions. We recommend downloading our Resident Upload Template, which will be available within Step 1.
Once you've uploaded your CSV file, click the Upload button. You should then see your newly added residents within the list in the Dashboard.
Adding Multiple Residents to a Building
If you are using the building’s feature, you’ll want to be sure that each resident is assigned to their appropriate building. If not, they will not display in that building’s kiosk. You can easily assign multiple residents to a building under the resident management tab.
Next to each resident’s name is a check box. Check each resident who needs to be added to a specific building. Then, click the Filter button. Once you select the right building each of the residents should be assigned to, select the proper building under Building Location and then “apply”. Now, each of the residents you assigned will display in the appropriate kiosk.

Questions? Please reach out to us at communitysupport@accushield.com